By request, I’m sharing how I personally string pearl necklaces.
There are many different techniques out there. My approach sits somewhere in the middle — practical and based on real working experience.
One important note before we begin: If you only have one or two strands and don’t plan to practice regularly, it’s usually better to entrust restringing to a professional (hint: it is usually NOT your jeweler). Proper pearl stringing is a specialized skill, and small mistakes can affect both durability and appearance.
I’ll show you what I use and how I approach the process — so you can better understand what goes into a well-strung pearl necklace, whether you decide to do it yourself or have it done for you.
If you want to understand how stringing affects longevity, here’s how long pearls actually last and what affects them over time.
Tools for Stringing Your Pearls
1. Scissors with Very Sharp Tips

Professional scissors are great, but even manicure scissors will work.
2. Fine-Point Tweezers

A very useful tool that helps in many situations during knotting. Can be replaced with a beading awl.
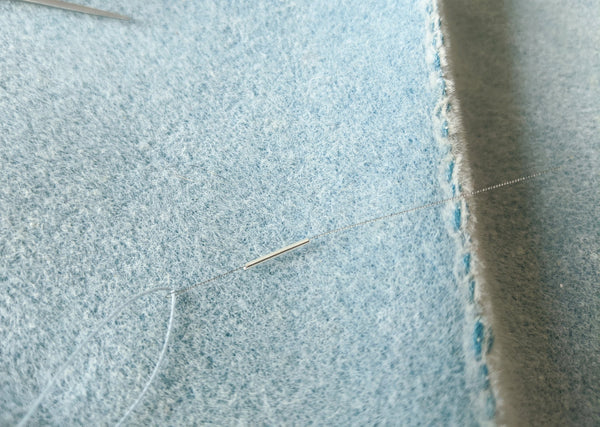
3. Thin Beading Needles

Can be replaced with a piece of beading wire. Professionals who do this regularly often buy wire in coils and make their own needles. If you string only occasionally, ready-made needles are more convenient.
4. Battery-Operated Cord Burner

Can be replaced with sharp scissors or flash cutters.
5. Special Pearl-Safe Glue (Cement)

Can be replaced with super glue, but not recommended.
6. Silk or Synthetic Thread
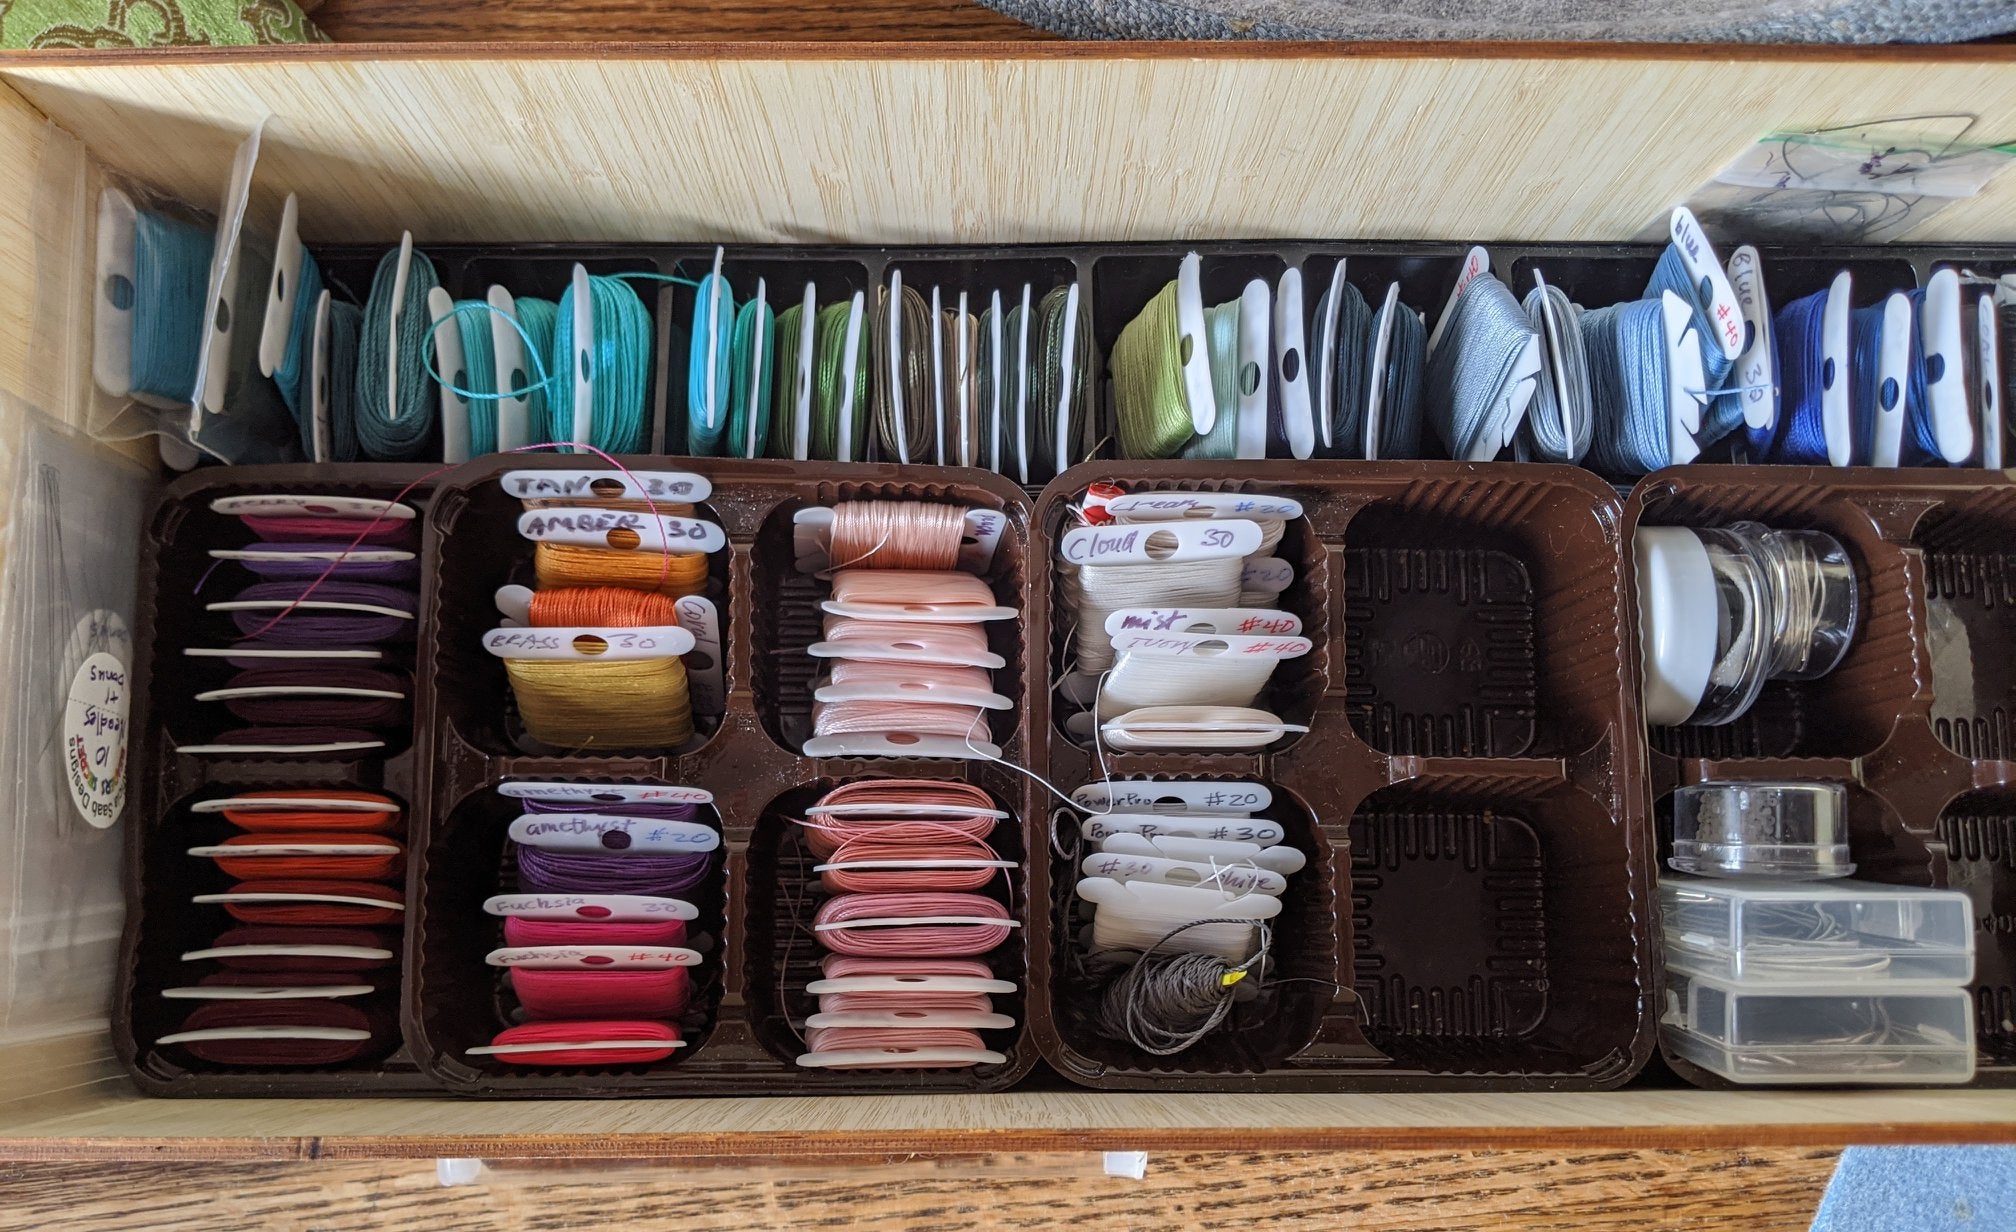
Do not use cotton thread — it is completely unsuitable. I recommend synthetic threads, specifically Serafil, Gunze, and Power Pro or Tenara, which I use myself.
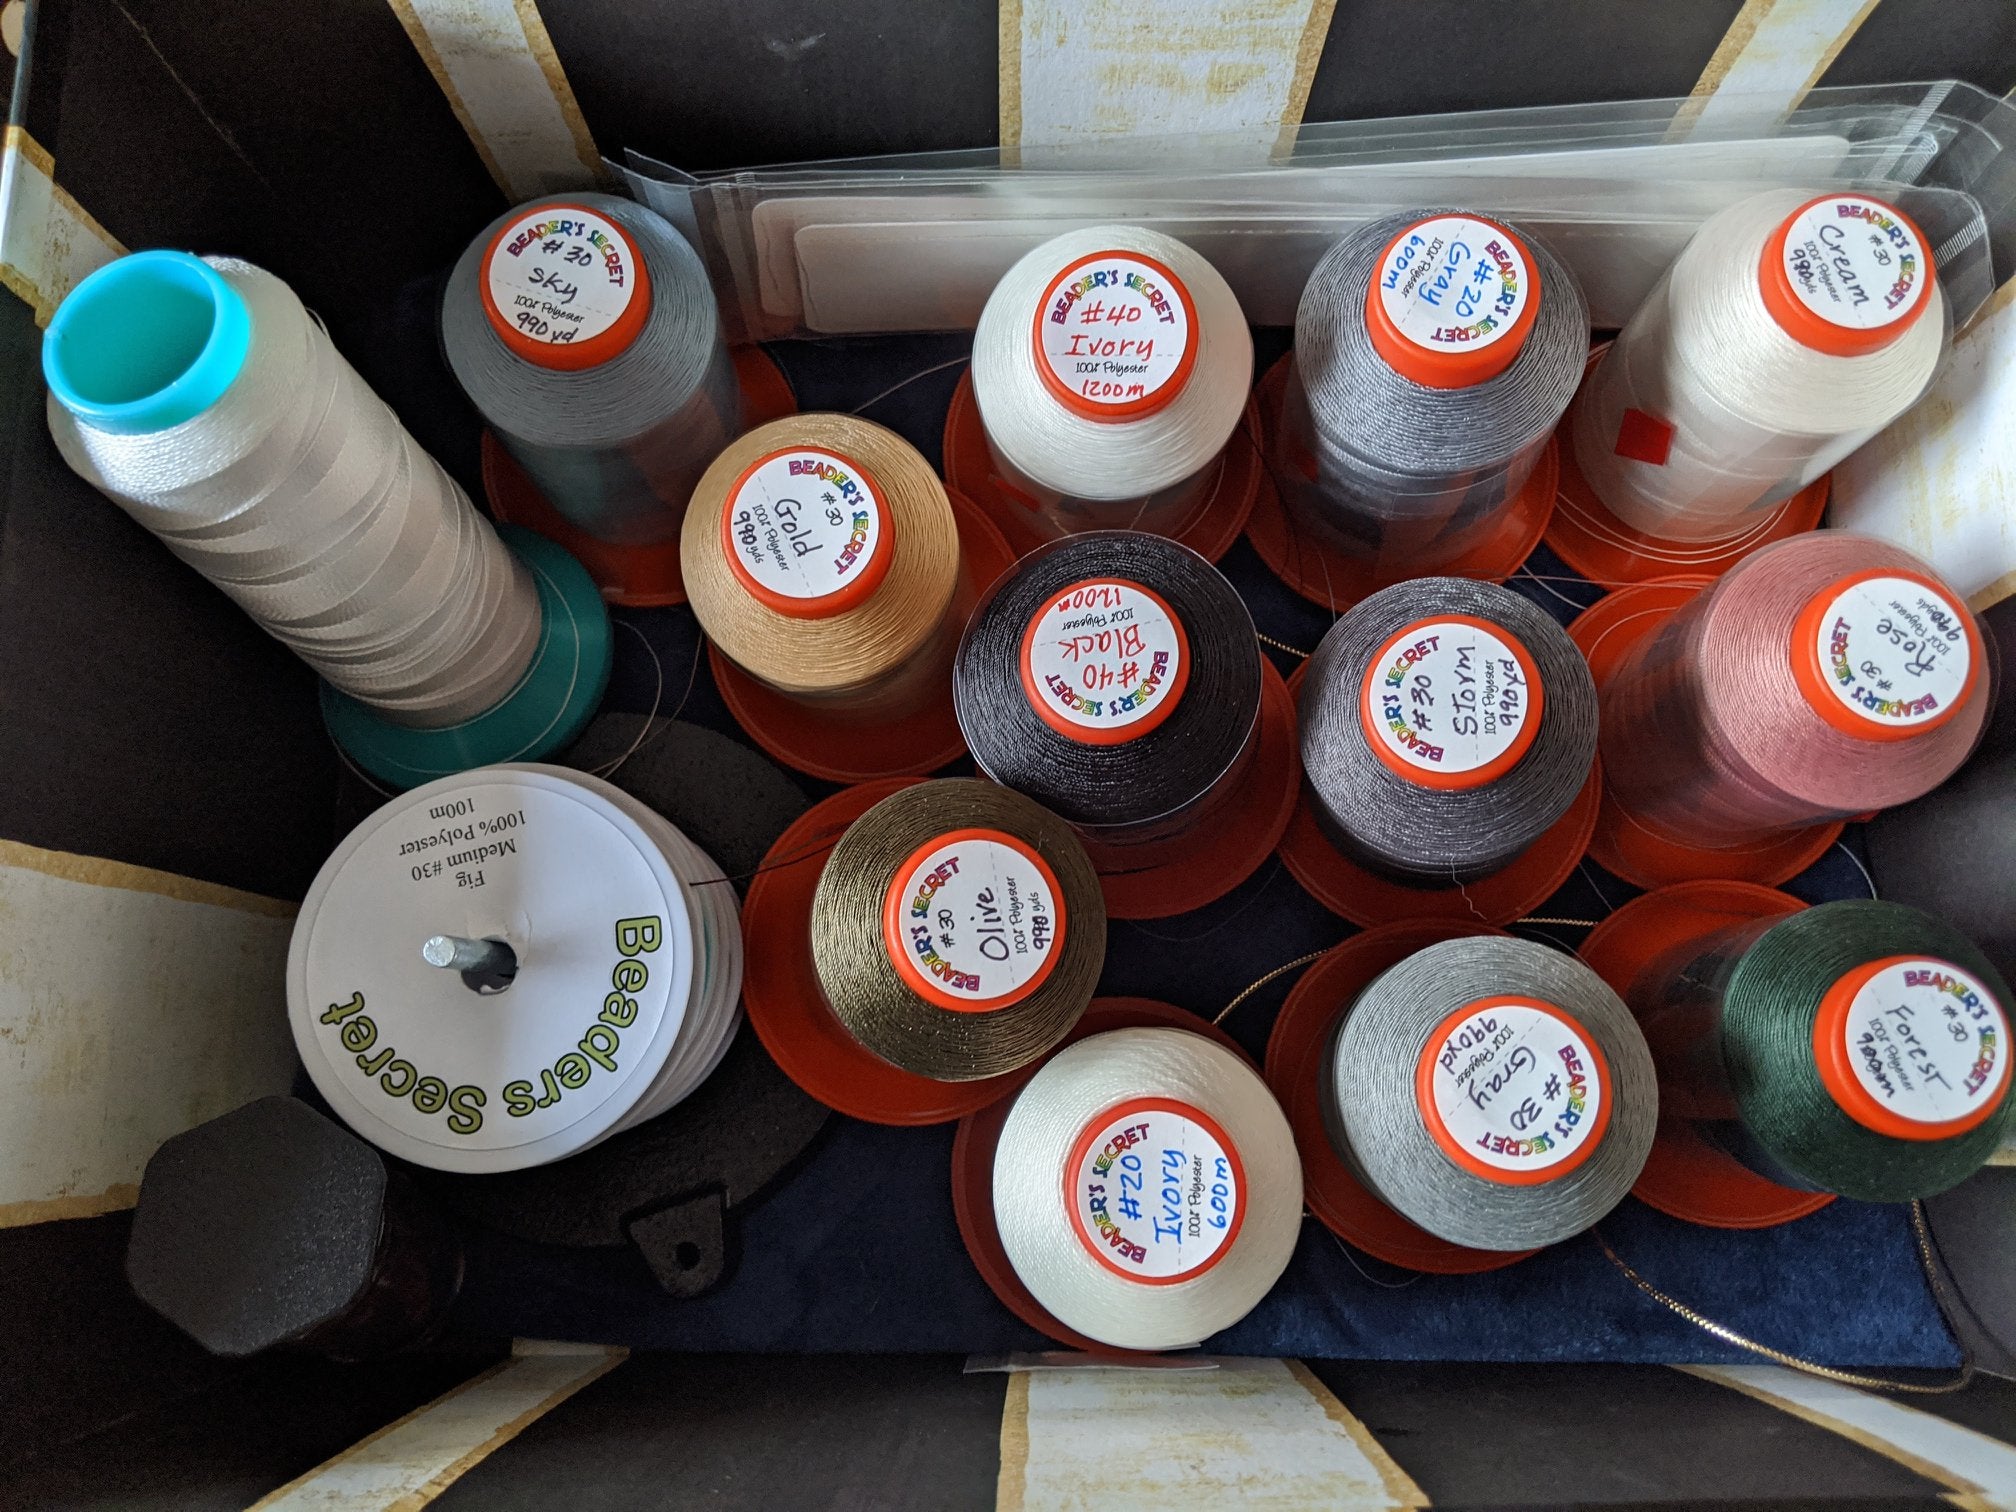
Why synthetic instead of silk? It doesn’t stretch and doesn’t get dirty as easily. It is strong and durable, forms neat knots, doesn’t twist or tangle like twisted silk thread. And often, an accidental unwanted knot can be undone — which is almost impossible with silk.
Serafil comes in a wide range of colors and thickness. Power Pro is more limited color-wise — I use it for seed pearl strands without knots. Size 10 Power Pro is often preferable to silk for such projects.
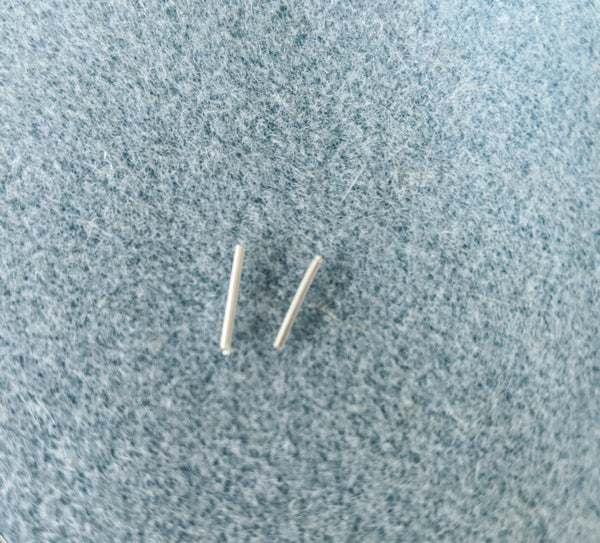
7. French Wire (Gimp)
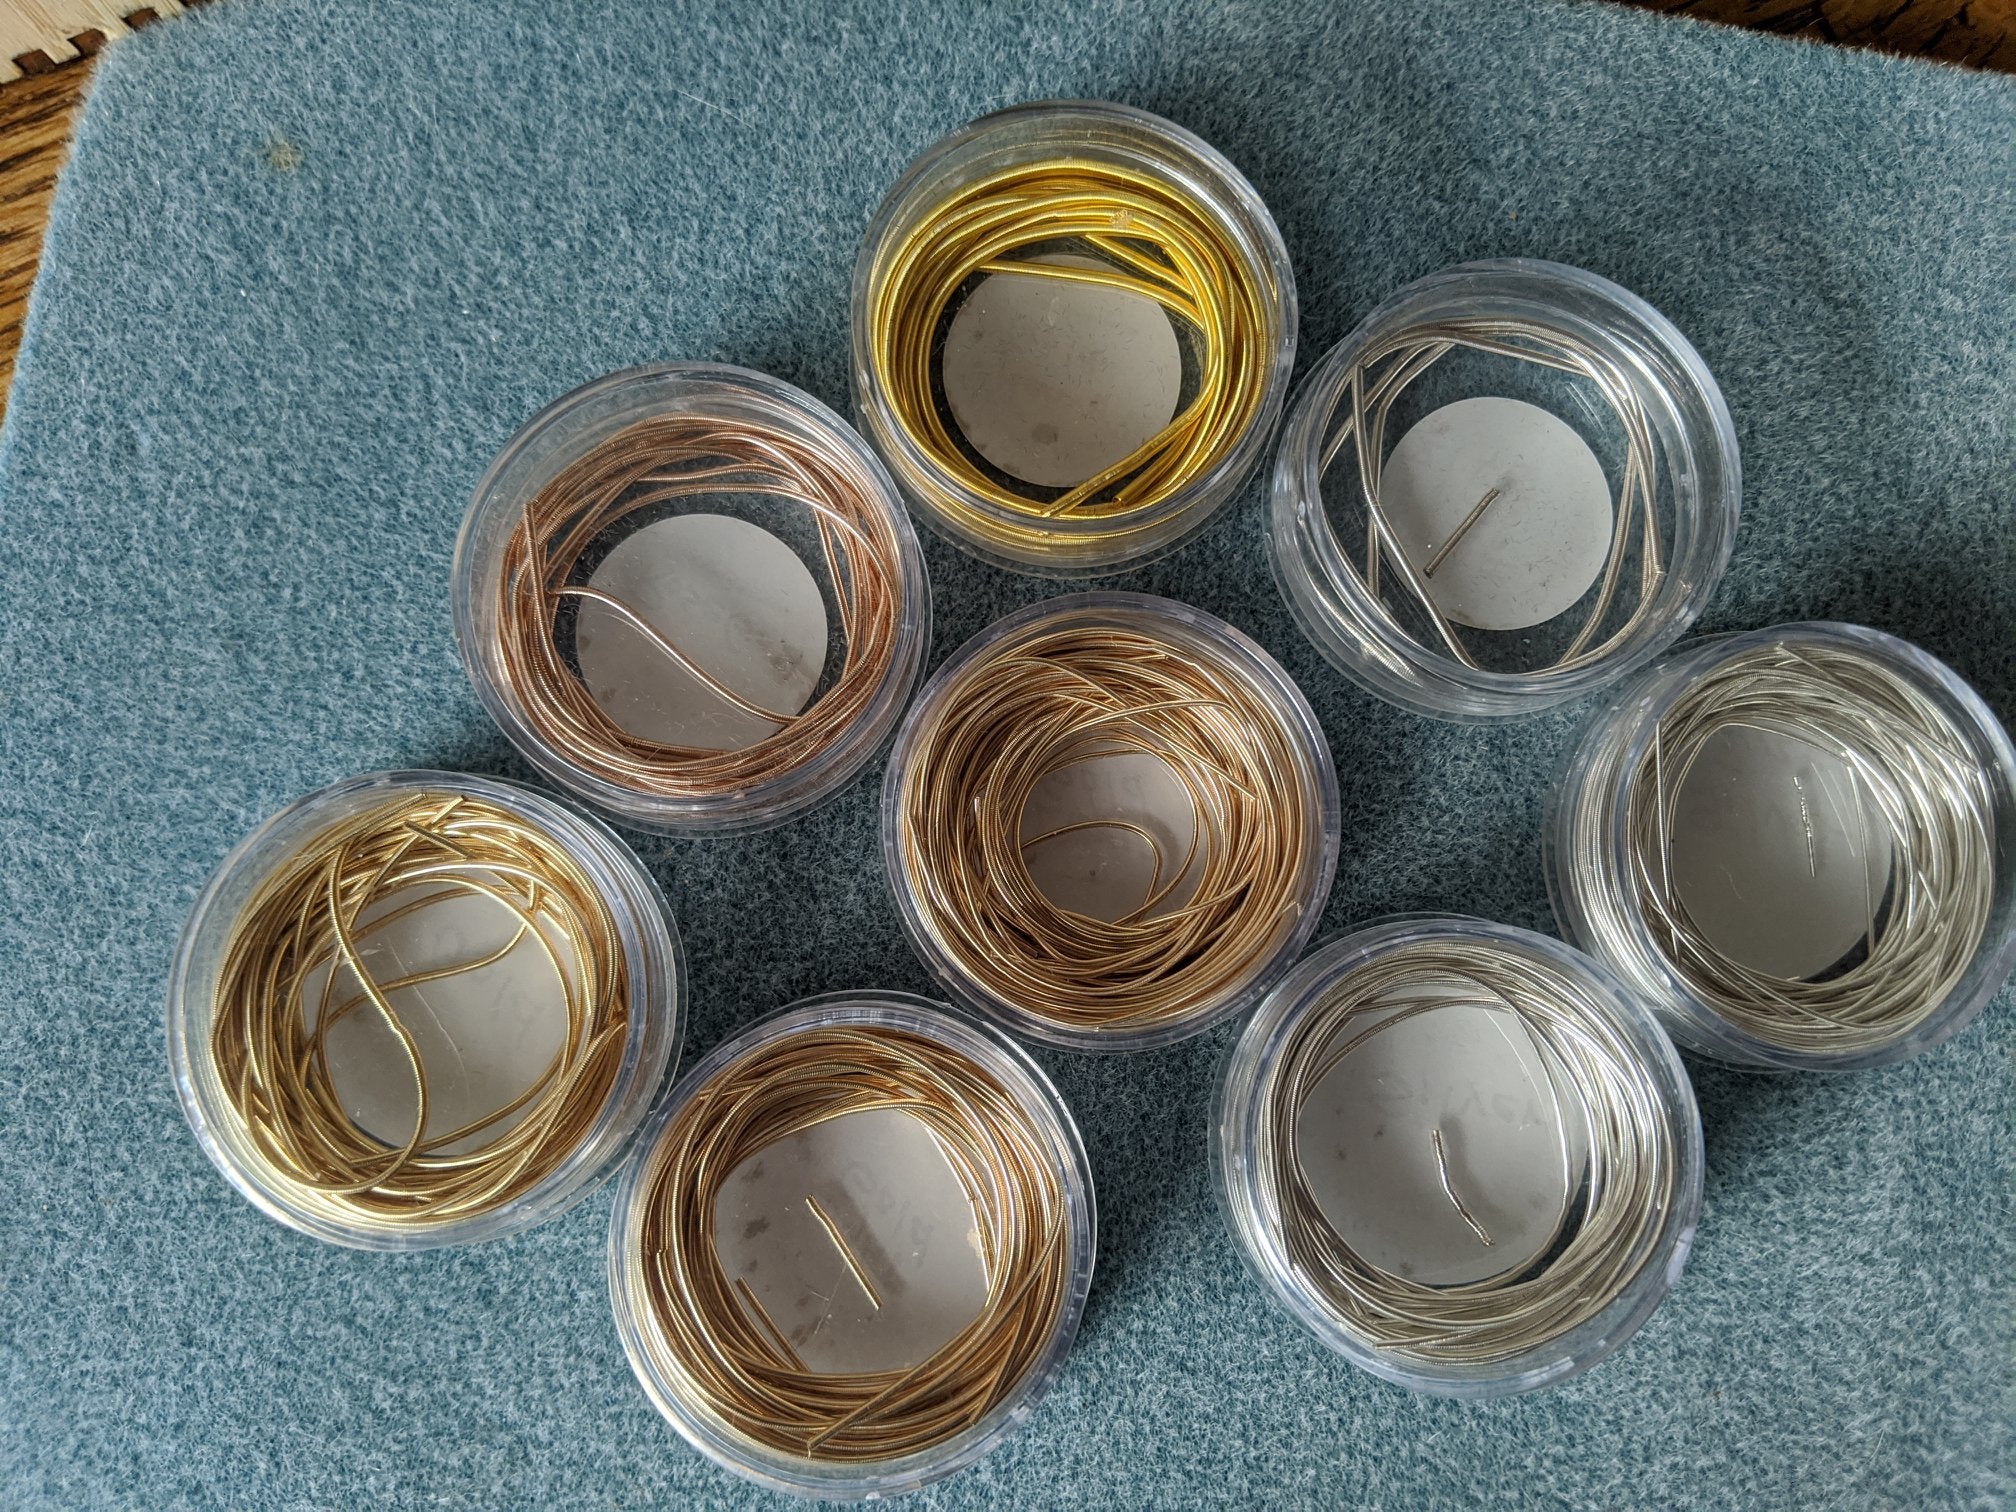
Needed to protect the thread from premature wear. Comes in different colors and diameters.
8. Work Surface
I work on a slightly fluffy microfiber cloth that prevents pearls from rolling away. Any non-slip, solid-colored surface will work. A bead board with measurements and compartments is also useful but not necessary.
9. Good Lighting
A reliable task lamp over your working area will do an excellent job.
Most of these materials can be found in any craft store.
Before You Start Stringing Your Pearls
If you are restringing a necklace, first wash the pearls in warm, slightly soapy water or wipe them with a soft damp cloth to remove dirt near the holes. Dry on a paper towel.
If the holes seem dirty inside, pass a clean white cotton thread through each pearl — several times if needed.
Carefully cut the old thread between the pearls. Cut each knot rather than trying to pull it through the pearl, otherwise it may get stuck inside at the narrowest point.
Step-by-Step Overview
Steps 1–10: Preparation and Clasp Setup
Arrange your pearls, prepare materials, and attach the first part of the clasp using French wire for protection. This is one of the stages where even small inaccuracies can influence how the necklace ultimately sits and wears.
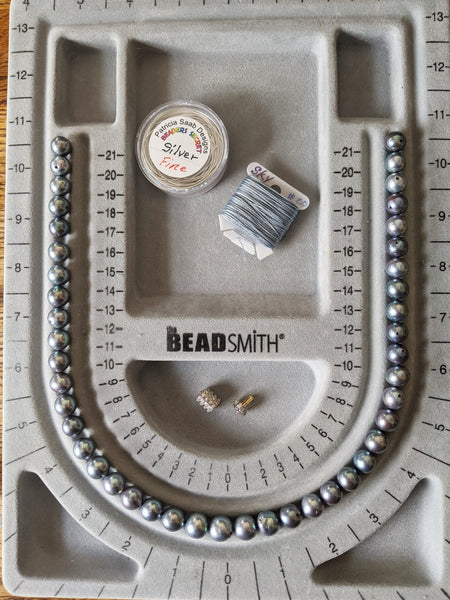
Step 1. Pearls arranged in the exact order of stringing
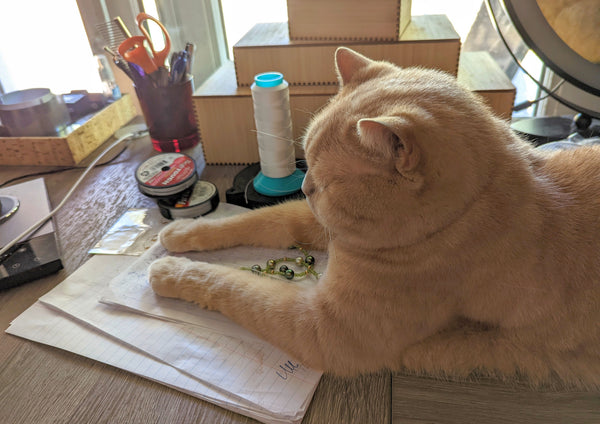
Step 2. A reliable support team in place — quality control is essential

Step 3. Thread measured to approximately five times the final necklace length, doubled and secured with a large starting knot
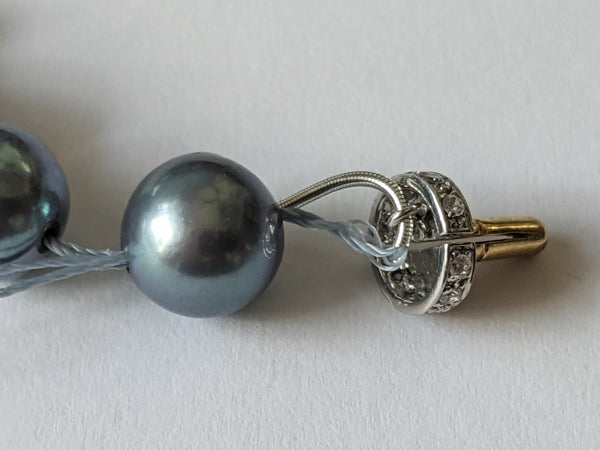
Step 4. French wire cut into two small sections

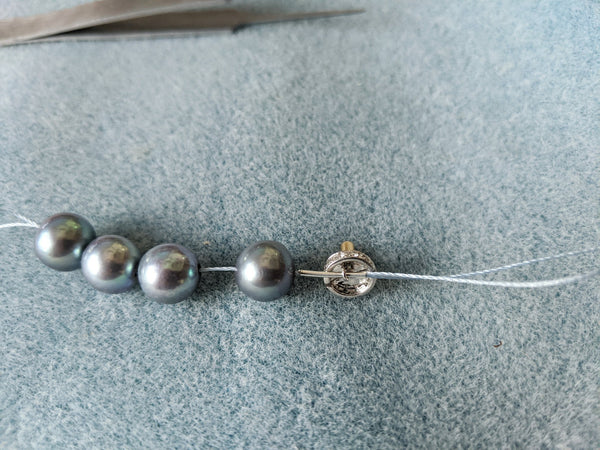
Step 5. First four pearls strung in reverse order (the last one closest to the clasp)
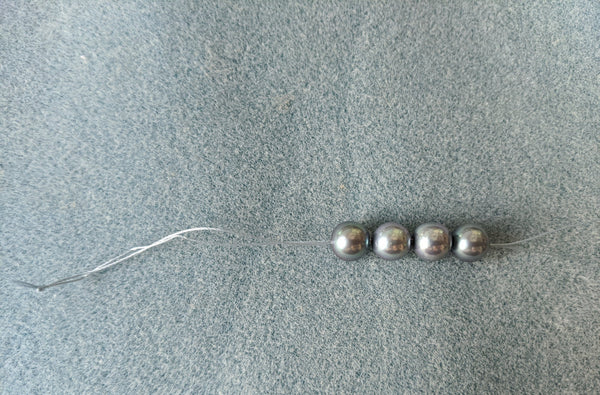
Step 6. Pearls positioned near the end of the thread, leaving a working tail

Step 7. Tail secured to prevent pearls from slipping off during setup
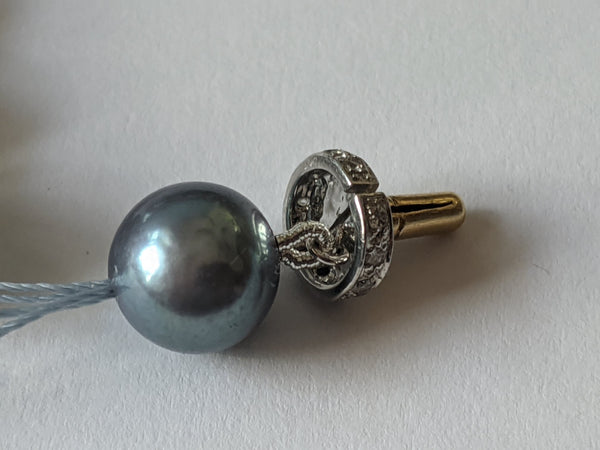
Step 8. French wire added to protect the thread near the clasp
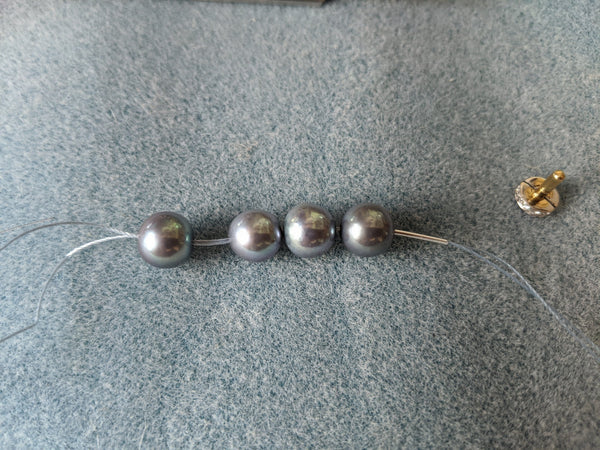
Step 9. French wire positioned by the last pearl